Homemade butter – something that not everybody would ever think of, but is surprisingly easy to make. I am not sure how complicated the butter-producing process at the factory is, but homemade butter is as simple as separating the fat from the liquid milk. Since milk only contains less than 3% fat, we will use another type of dairy that is much thicker and contains a more significant amount of fat needed to make butter: whipping cream.
For all bakers out there, you might be very familiar with how runny and thick whipping cream looks at the beginning, as well as how it transforms into a bowl of light and fluffy cloud after being whipped. To make butter, we need to go further than the point where whipping cream forms stiff peak. Just keep whipping a bit longer, you will see the fat starting to separate – that is our butter. In other words, the “over-whipped cream” that is such a trouble for baking recipes is actually a good sign when you are making butter. It shows that your homemade butter is almost ready to be served.
Homemade butter is, frankly speaking, definitely not a cost-effective idea (in US and EU countries at least, where the price of butter is relatively cheap). 1 litre of whipping cream with 35% fat produces about 350 – 400 grams butter, the rest is buttermilk. Compared to store-bought butter, homemade one costs the same. So, saving money is not a reason to make butter at home, but you might want to consider trying it when: (1) you have leftover whipping cream that is expiring soon, (2) you accidentally over-whip your cream. Instead of tossing these away, you can turn it into delicious homemade butter, as well as precious buttermilk that can be used to make pancakes, garlic bread, or even fried chicken!

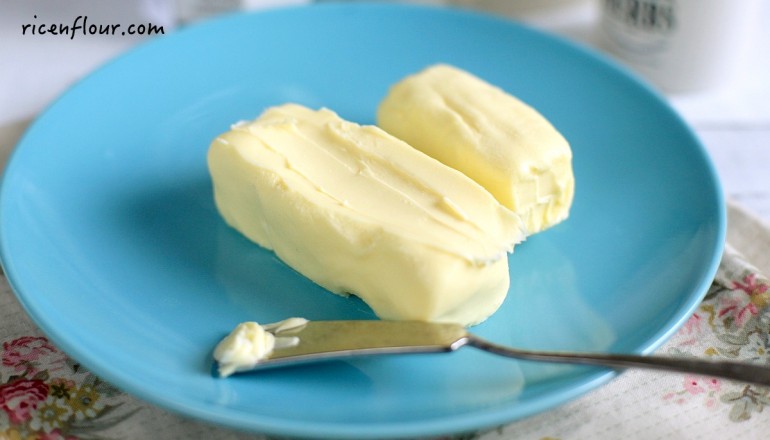
My first attempt was not only a tremendous success, but also full of happy moments. Having previously thought for so long that butter is something impossible to make at home, I was amazed when holding the soft and smooth homemade butter in my hands – it looked and tasted exactly like the best butter I have tried in Germany (where I was living at the time)! It even smells better than the butter used for baking purposes (which is usually in a ‘cruder’ form).
Note that the fat percentage in homemade butter varies depending on how you make it. So, be careful when you use it as an ingredient for baking since you don’t know exactly how much fat it contains (store-bought butter contains a fixed amount of 80-82% fat) – especially for recipes that requires a large amount of butter. Having said that, I have used this butter to make bread and have immediately fallen in love with the warm and pleasant aroma with which the freshly-baked bread filled my kitchen – incredibly lovely and buttery. If you want to take the bread to the next level, use it to make homemade garlic bread: slice the bread, and spread a generous layer of, of course, homemade garlic herb butter.
INGREDIENTS & EQUIPMENT
- 240 ml (1 cup) whipping cream (min. 30% fat)
- A large mixing bowl
- Hand mixer
- Iced cold water
* Note:
– Higher fat whipping cream produces a larger amount of butter. So heavy cream or thickened cream with 40% fat or above will be an ideal option. To give you a general estimate, I got 90 grams butter (about 3/4 stick) from 240 ml (1 cup) whipping cream 32% fat. The quality of the whipping cream will determine the quality of the butter. Do not use topping cream/ top whip.
– During the butter-making process, both the cream and the bowl must be cold so that the fat can split quickly and the butter can be smooth. Keep this in mind when you are whipping the cream, as the cream will get warmer when being whipped at high speed.
– You can use either a hand or stand mixer, or even a blender/ food processor. The higher the speed, the better. A machine with less than 300W power will take very long to whip the cream.
INSTRUCTIONS
Instruction on how to make butter using whipping cream is available at Savoury Days’ YouTube Channel. If you are unable to watch video on our site, please click this link. HD quality and both English and Vietnamese subtitles are all available.
Printable recipe
1. Prepare a large bowl of iced cold water. Place the mixing bowl into the large bowl. Alternatively, place the mixing bowl into the fridge or freezer for 30 minutes prior to the mixing process.
2. Pour the cream into the mixing bowl. Beat at high speed until the cream turns thick and fluffy, and starting to split. When the cream starts to curdle, lower the speed to medium. This is when the fat is separating from the buttermilk. Continue beating at medium speed, and then change to low speed once you see that the buttermilk starts splattering. Beat until the fat forms a solid piece.
3. Strain the mixture, and keep the buttermilk. Place the butter into a clean bowl and press it with a spoon until completely liquid-free. This buttermilk can be used to drink, and it is a great ingredient for cooking and baking (pancakes, bread, etc.).
4. Pour iced cold water into the bowl containing the butter, and use your clean hand to gently press the butter to allow any leftover buttermilk to come out. When the water turns cloudy, get rid of that water and add in a new bowl of cold water. Keep pressing until the water is completely transparent (it took me about 2 – 3 times of changing the water). This step helps to increase the shelf life of the butter.
5. Cover the butter with plastic wrap. Store it in the fridge up to a week or in the freezer for 2 months. You can mix the butter with salt, garlic, or any types of herbs and flavours to create your own butter spread.
—————————
- Recipe & Photos: Linh Trang
- Written by: Phương Nguyễn
- Edited by: Thảo Đan


I made it! I, too, was whipping the heck out of it (55min) and didn’t get pass the “whipped cream” phase. I realized my problem- my handmixer was not powerful enough. So I dumped everything in my standmixer and in less than 2 minutes the mixture had separated. Next time I’ll just stick with my standmixer Thanks for the recipe!
Thank you. That’s the best recipe I’ve ever seen.
I beat the whipping cream for more than 30 min nd nothing seprated😣. I was really disappointed 😭. Where did I go wrong?
Maybe your cream was not cold enough or the speed of the mixer was too low/ too weak.