Ever since I discovered that I can make my own homemade natural food colourings, I have been very excited to try out using them in many different ways. And because of RnF’s mooncakes series, my kitchen has been filled with a lot of mooncake ingredients that are more than enough for me to conduct some ‘colouring experiments’ on mooncakes.
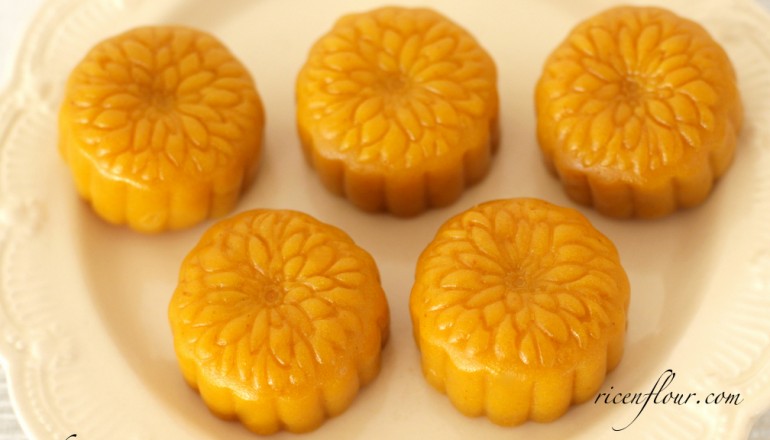
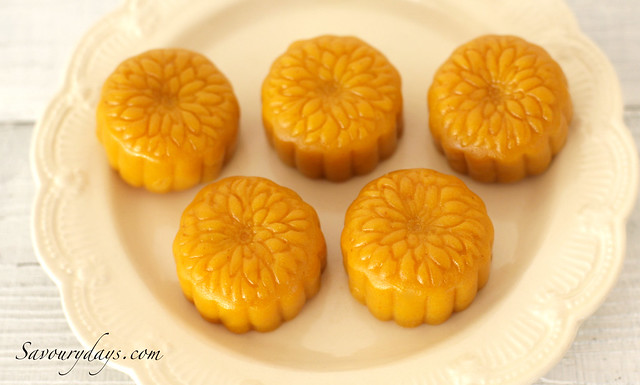
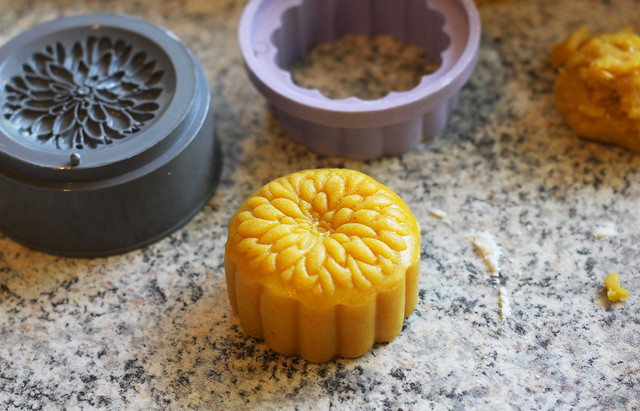
The first experiment I did was these bright yellow-skinned baked mooncakes, or as I like to call it, daisy baked mooncakes, because of their gorgeous colour and patterns. To produce the colour yellow, and bear in mind that your food colour needs to be quite intense otherwise it will not be effective upon being mixed with many other colourless ingredients, the best ingredient to use is turmeric or saffron. Saffron is definitely the superior choice since unlike turmeric, it has a less strong flavour that will not affect the taste of your mooncakes. However, the main problem is that saffron is extremely expensive: the saffron plant only grow in certain conditions, each plant bears up to 4 flowers and then saffron is harvested from those flowers. I bought only 1 – 2 grams in Istanbul (saffron can cost more than $500 per ounce!), and although you really only need a pinch of saffron to bring taste and colour to a dish, I decided that it was too risky to use something so precious in an experiment like this, and went with turmeric powder instead.
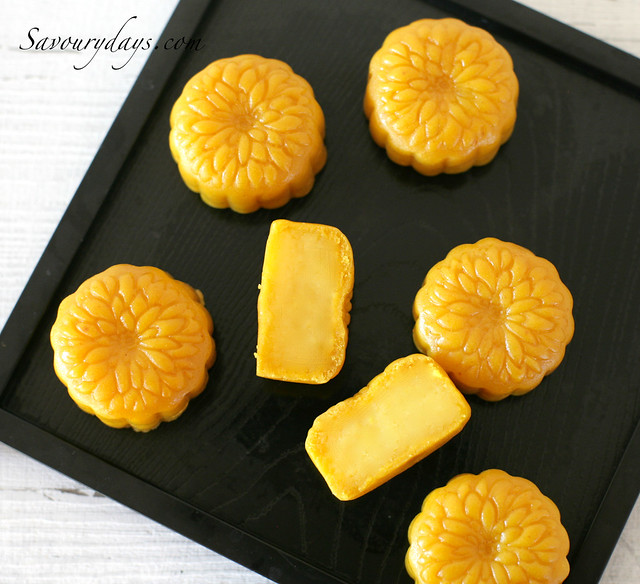
I also added some lemon zest into the skin dough to offset the taste of turmeric in the mooncakes, and that turned out to be a brilliant idea: the fresh taste of lemon zest brightens up the mooncakes that are already as glorious as sunflowers on a sunny day. The passion fruit-flavoured filling complements the lemon perfectly – the citrus taste makes the mooncakes taste a lot lighter on the stomach and won’t leave you feeling bloated. These daisy baked mooncakes look autumn but taste like summer.
The recipes for the skin and the filling are based on my recipes for baked mooncakes and mung bean filling – make sure to check them out for a more detailed explanation on ingredients, skills and essential techniques in making beautiful and tasty mooncakes.
INGREDIENTS
A. Passion fruit mung bean filling
- 1 portion of mung bean filling (for instructions, check out this recipe)
- 8 passion fruits
B. Mooncake skin
- 120 grams all-purpose flour
- 1/4 tsp turmeric powder
- 80 grams sugar syrup
- 7 grams cooking oil
- 1/2 egg yolk (10 gram gently beaten yolk)
- 5 grams peanut butter
- Zest of 1 lemon
C. Egg wash: 1/2 egg yolk + 1/2 egg white + 1 tsp water.
* Note:
– The amount of turmeric powder can be adjusted according to the quality of the powder. I recommend trying 1/3 to 1/2 of the prescribed amount at first, and then adjust the amount of turmeric and lemon zest afterwards to your liking.
– Use sugar syrup made from white sugar instead of brown sugar, as the light colour of the syrup will produce a brighter yellow shade of the mooncake skin.
– Use lemon or orange depending on your preference (I personally prefer lemon).
INSTRUCTION
The recipe above produces:
- 550 grams filling
- 225 grams skin
The recommended skin : filling ratio is 1:2, thus a small 50 grams cake contains roughly 35 grams filling and 15 grams skin. Therefore, this recipe yields:
- 550 : 35 = roughly 15 portions of filling.
- 225 : 15 = 15 portions of skin dough.
You can also adjust the 1:2 ratio according to your taste and to the mould you use.
A. Passion fruit mung bean filling
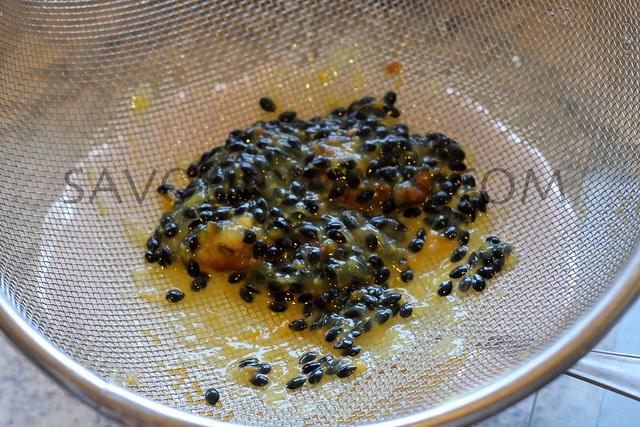
1. Scoop out the passion fruit flesh and add 60 – 80 ml water. Pour the mixture into a saucepan and bring it to a simmer. Stir well while cooking.
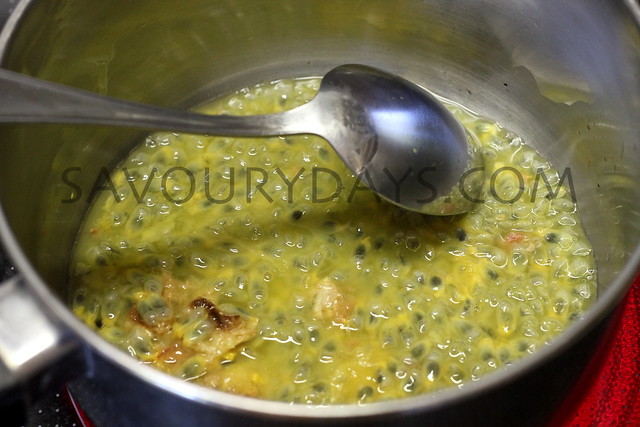
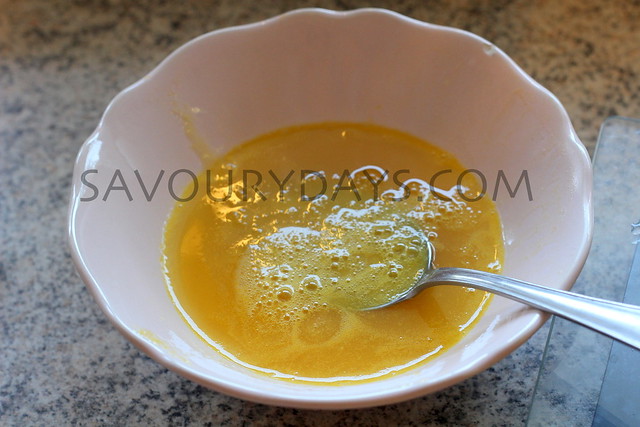
2. Strain the mixture through a sieve to get rid of all the seeds and pulps. The boiling process in step 1 helps to remove the seeds more easily. From 8 passion fruits I yield about 220 – 240 ml juice.
Passion fruit water after straining (I used only 4 passion fruits in this picture)
3. Prepare the mung bean filling as shown in this video.
Add 1/3 passion fruit juice at the beginning along with the green bean and sugar. Another 2/3 will be blended with the cooked mung bean. Cook the mixture until it becomes a smooth paste. Add or omit 10 grams sugar in the original recipe according to your taste.
4. Once the paste is cooked, wait until it has cooled down and then divide them into even portions. Cover to prevent them from drying.
B. The mooncake skin
1. Sift the flour and turmeric powder into a large bowl. Zest the lemon/orange into the flour and then mix well. You should have a light yellow bowl of flour.

2. Make a well in the centre of the flour mixture. Place all other ingredients into the well.
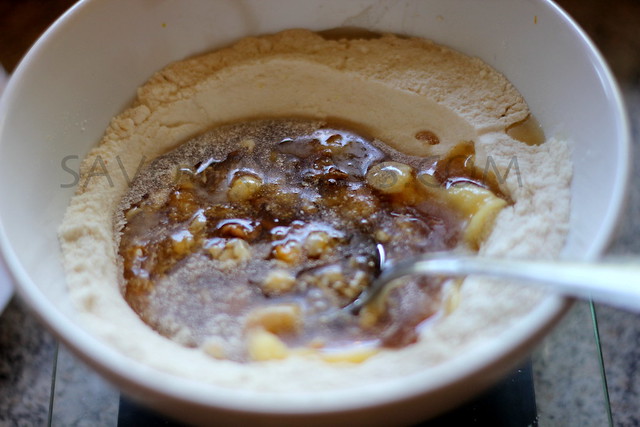
Use a spoon to gently combine everything together by stirring outwards from the centre of the hole. Keep stirring until incorporated.
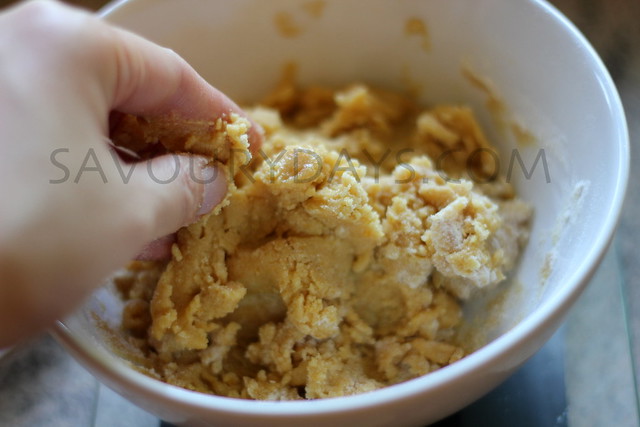
Knead the dough with your hand and form a ball of dough.
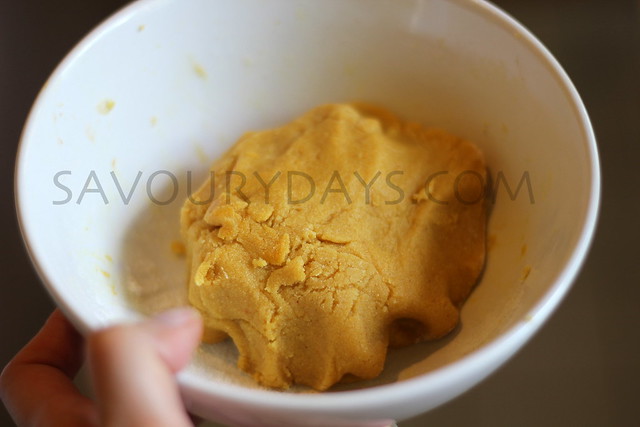
The dough should be slightly wet, smooth and has a light yellow colour. Avoid over-kneading as it will allow gluten to develop and the dough will become elastic (like a bread dough) and therefore more difficult to hold the shape of the mould. Cover the dough and let it rest for 40 – 50 mins. The dough will become slightly drier after resting and easier to work with.
3. Wrap the dough over the filling and mould the cake. (For instructions on how to wrap and shape the mooncakes, check out the video at the end of this post).
Roll out the dough.
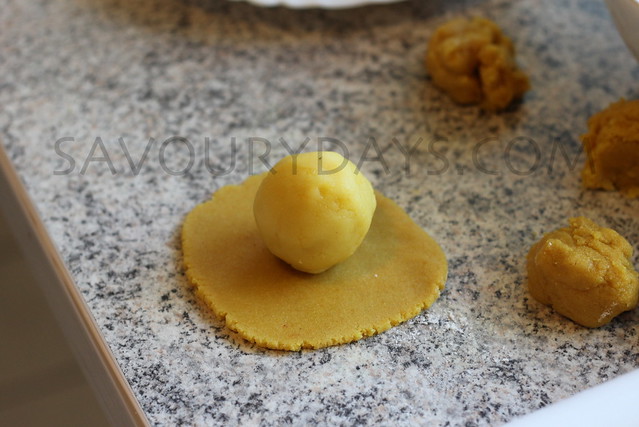
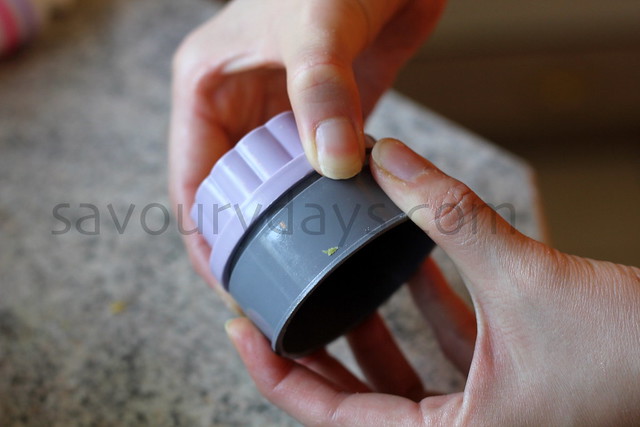
Shape the mooncake ball to fit the mould.
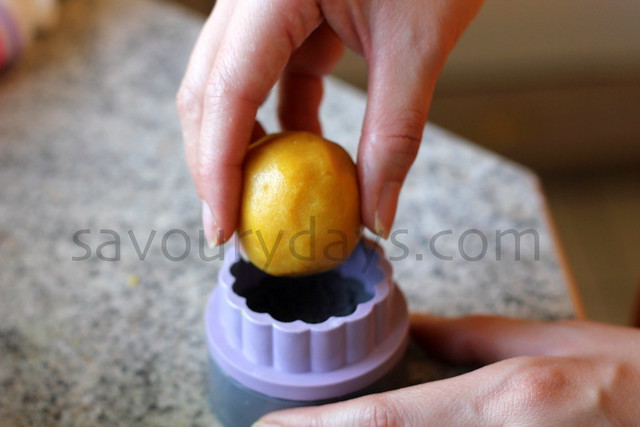
Use your palm to press the cake so that it spreads evenly and fits into the mould.
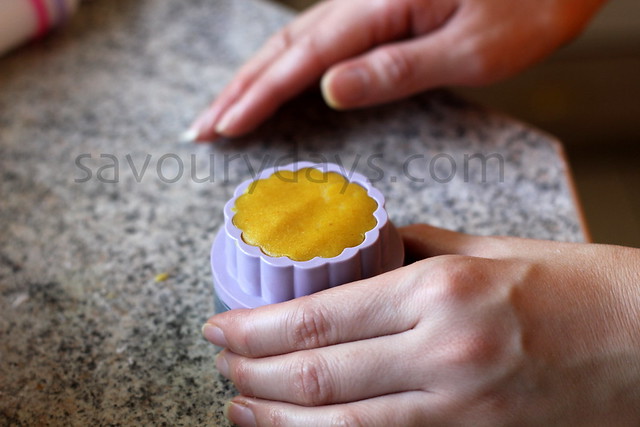
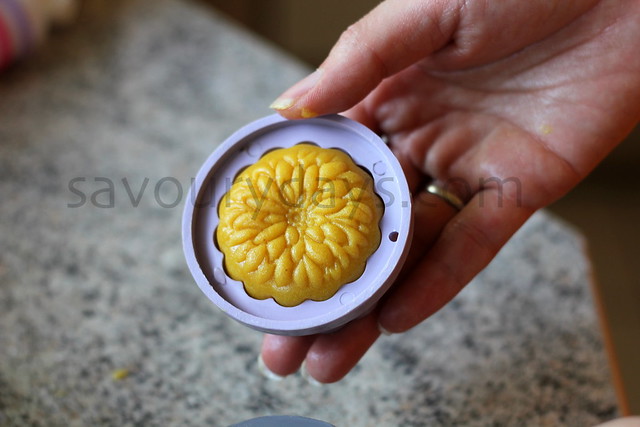
Remove the lid of the mould.
And there we have a beautiful daisy.
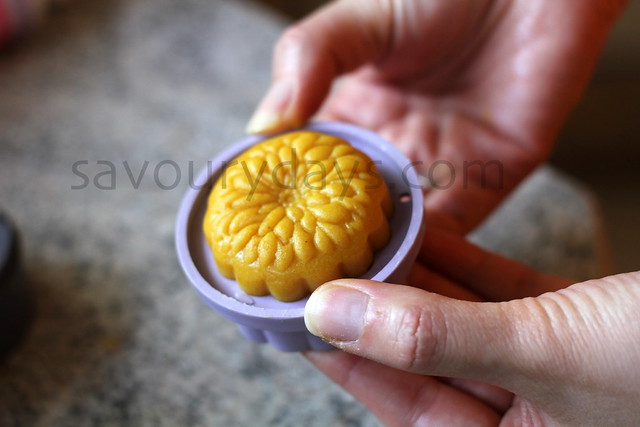
Gently push the out of from the mould.
You should mould the cake right after wrapping as it helps the patterns to stay on the top of the mooncakes better. Place the moulded mooncake on a baking tray lined with SilPat or baking paper. Repeat until you have finished. When you are shaping the mooncakes, cover the fillings and the dough that you haven’t used yet to prevent them from drying.
Preheat the oven to 170ºC.
4. Place the mooncakes into the oven. First, bake at 170ºC in 8 minutes (for 50 grams mooncakes). You should see the skin of the mooncake turn a bit darker when you take it out of the oven. Spray water on the mooncakes.
5. Beat all the ingredients in part C to make the egg wash. For instructions on how to egg wash the mooncakes properly, check out the video at the end of this post.
6. Bake the mooncakes for the second time at 170 ºC in 5-7 minutes. Take the mooncakes out, spray water and brush a layer of egg wash onto the mooncakes. Bake for 1 more time at a similar temperature and duration.
Once you have finished 3 bakes, if the mooncake skin is still quite soft, turn the oven to 110ºC and continue baking for extra 5 – 7 minutes to dry the skin out further. Because the skin will soften by absorbing the oil in the filling over time, the drier and harder your mooncake skin is after baking, the longer they will keep.
Store the mooncakes in a cool and dry place. If store in a sealed box, use dry-packs (moisture absorbing packets). Serve within 3 – 5 days.
* Notes:
The recipe above is just a brief version. If you have no previous experiences with mooncake at all, please refer to previous recipes in the mooncakes series, where there are basic tutorials on wrapping the cake, egg wash, baking the cake, and other crucial notes on keeping the pretty patterns on the mooncakes.
- Traditional Vietnamese Baked Mooncakes.
- Traditional Vietnamese Snow-Skin Mooncakes + Recipe for Matcha Mung Bean Filling.
- Matcha Baked Mooncakes with Red Bean Filling.
- Singaporean Snow-skin Mooncakes.
- Snow-skin Mooncakes recipe without shortening.
——————————–——————————–
- Recipe & Photos: Linh Trang
- Written by: Phương Nguyễn
- Edited by: Thảo Đan


JOIN US